Are you considering adding new windows to a home? With the expense of good quality frames and glazing, it can be tempting to install them yourself. However, before you consider a DIY installation, you should know the process and procedures you must go through.
Knowing them can help you get a better idea of the time, cost, and labor involved in the process. Below, we give you a must-read guide on how to install windows.
Pros and Cons of DIY Installations
The main reason you would do a DIY installation is cost. Undoubtedly, it will save you a lot of money. However, the reason window installation can be expensive is that it is a very skilled job that will cost you more to fix if you get it wrong.
As well as being a specialist job with multiple processes, replacing a window is actually dangerous. If you are above ground level, you will be handling glass while working up ladders. Even on ground levels, a mistake can be extremely costly.
As you will soon see, the process is also extremely long and labor-intensive. To do it correctly needs a lot of fine-tuning and balancing. A poorly installed window can seriously damage your curb appeal, property value and decrease the energy efficiency in your home.
Measuring New Windows
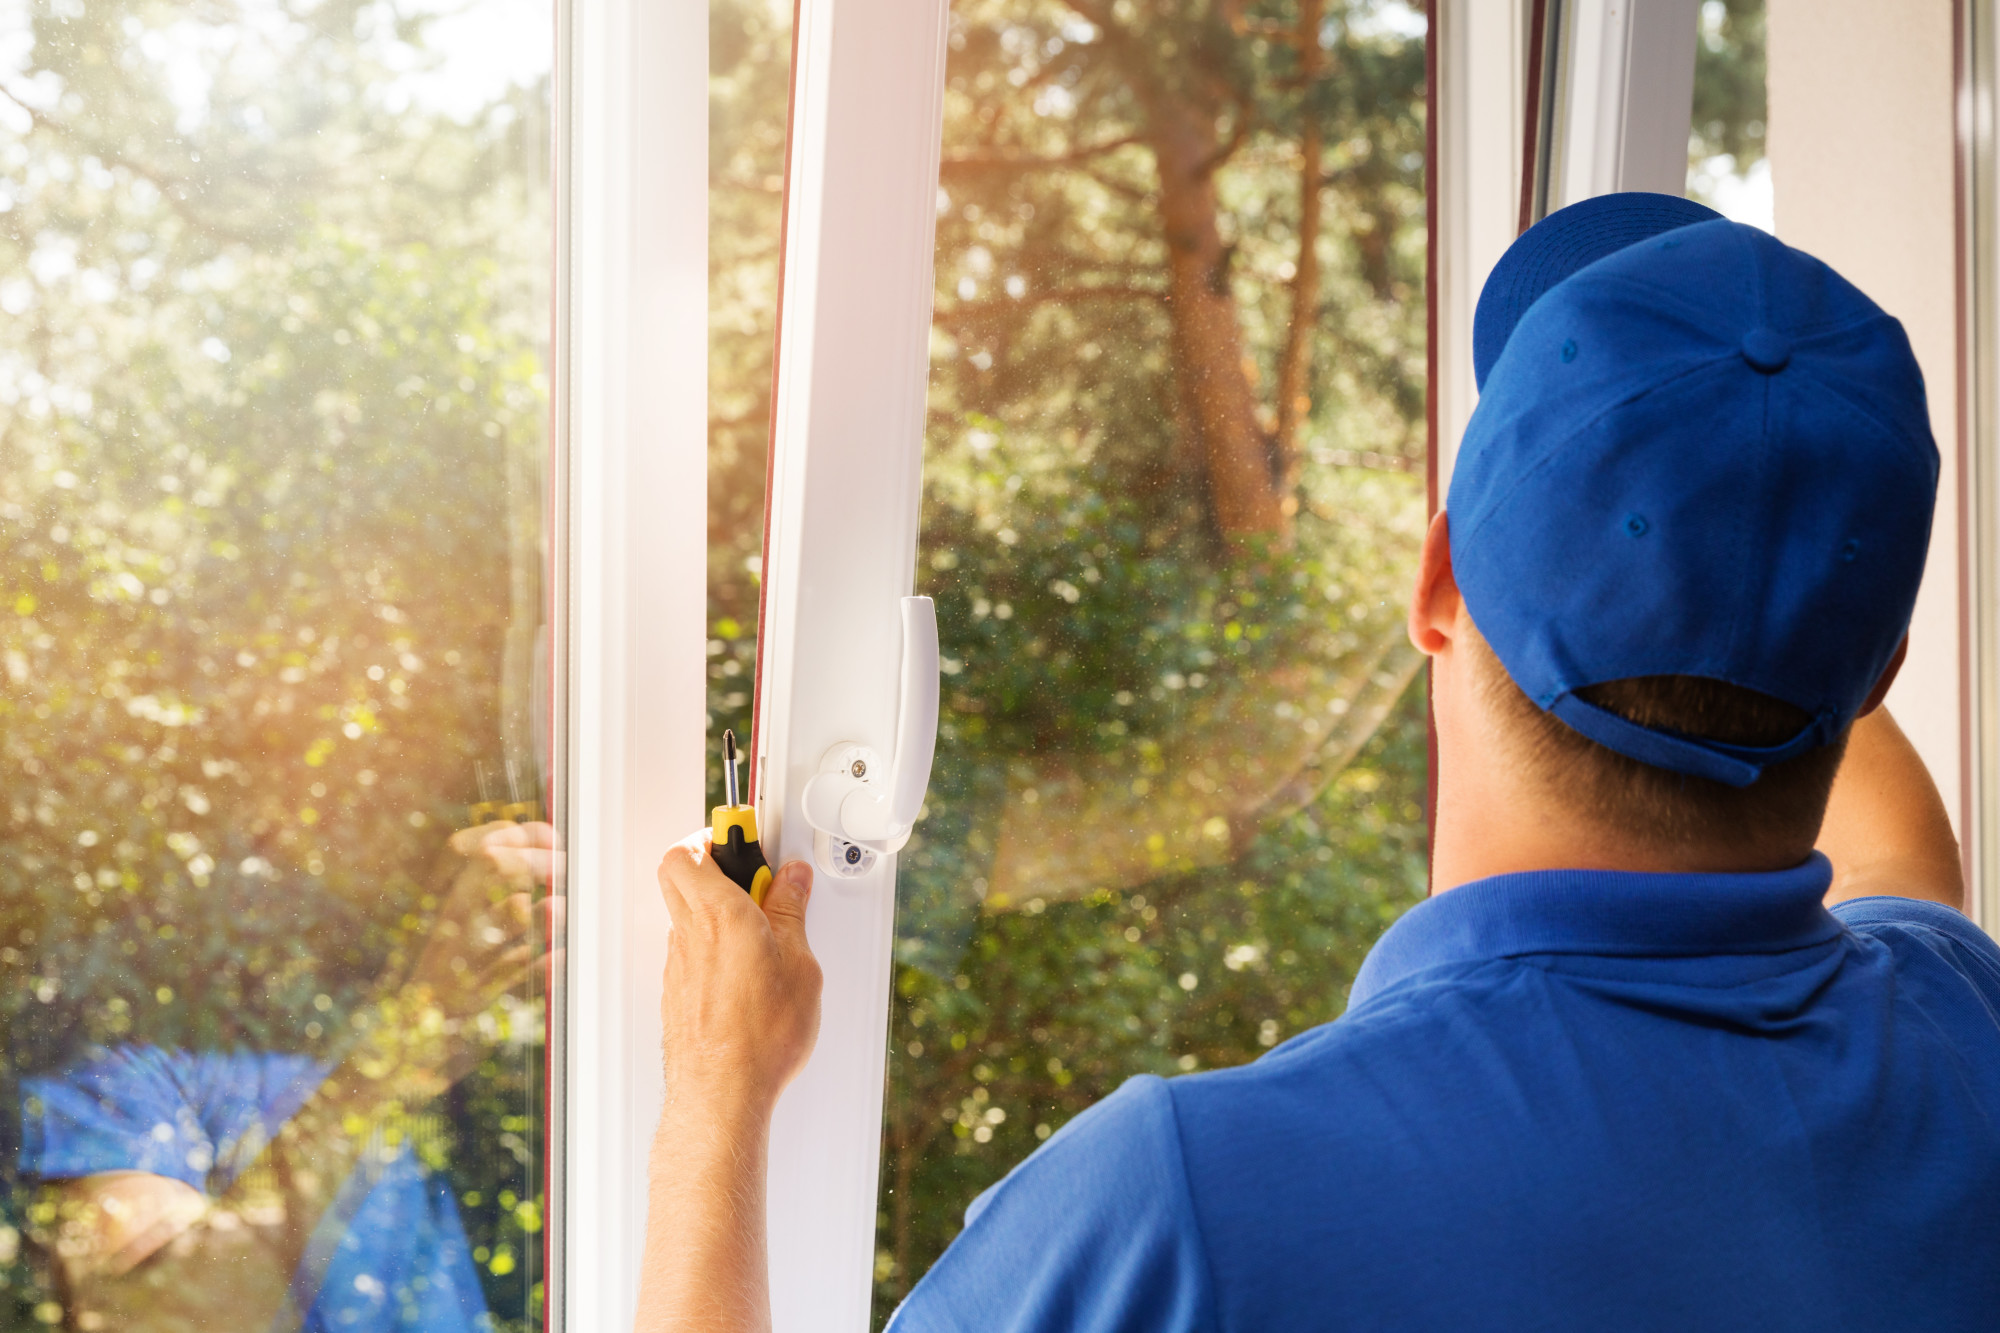
Installing windows begins when you take the measurements for your new windows. You must make sure you have the correct width and height, measuring inside the existing frame. This is quite complicated, as you need to measure in multiple places.
Firstly, measure the height at the left, middle, and right of the window. Then do the same in the horizontal axis, going from the bottom, middle, and top. It would be best if you took the smallest measurement from each as your size guide so that they fit properly.
If you happen to make a mistake here, you will end up with a big problem. The window frame will be too large, leaving huge gaps. A professional will know how to measure both the windows and frames correctly.
Removing Old Windows
The type of window you are removing will determine how you remove it, though there are some universal methods that apply to all windows. Once more, a professional will know the specifics, so if you have a particularly difficult window style, call in help.
If your windows look like they wear made before 1980, they may contain lead paint. This is one instance when you should hire a professional with the correct equipment, as you will be dealing with poisonous materials.
If you have a storm window, start by removing this. You may be able to lift it out, or you may have to remove some screws or score the edge with a knife.
Older windows have sash springs and weights, which need to be removed very carefully. As the springs are under tension, they can snap back into the track. You need to be wary of the springs and plastic covers, and it is another instance where you may be better off hiring contractors.
Windows that are on weights need to fall inside the frame. Do this by cutting the cords.
Next, you need to identify and remove any stops on the window. You are looking for any interior stops, parting stops, and exterior stops. If you are installing windows from the outside, you can leave the interior stops in place.
Removing stops becomes tough when they are embedded in the frame. This will require an oscillating saw. Contractors will have the correct tools for this.
Any holes should be filled with wood filler. Damaged, weathered, and rotten wood will need replacing. Any weight chambers will also need to be filled with insulation.
How To Install Windows Yourself
Start by cleaning the sill and applying flashing tape. Flashing tape should fit on the sill and reach up the vertical.
The sill must be level before you progress. If it is not, you will need to install shims to even it out. If you are not familiar with them, check online, or call a professional.
Place the window in the space to see if it fits. Do not add any adhesive or mountings; this stage is purely to check they fit. Heavy windows will require assistance.
Before securing the window, you will need to apply the caulk. This is a specialist process that you could try on your own. However, you will need to get it correct and need the tools and materials.
Once the caulk is in, place the windows in against the stops. Secure the window using more shims. Drill the screws into the shims through the pre-drilled window holes.
Check the sashes sit in the frames and use more shims if required. Check the window is even and operates correctly. Apply more shims as appropriate.
Fill any gaps, applying foam insulation from the outside. Larger gaps may need backer rod weatherstripping, which an expert could provide for you.
Next, you must cut the sill adaptor to the appropriate height. You will need to drill weep holes into the adaptor to let out any moisture. You can then begin sealing the window and applying the exterior trim.
Hire a Professional
Now you know how to install windows, you can see that it is not an easy or quick process. Yes, you may save time doing it yourself. But do you want to take the risk with something so valuable, doing a specialist skill?
If you are installing new windows in the Las Vegas area, then contact Cut Rate Glass. We are experts in window installation, with affordable prices. Contact us today for a quote, saving you time and money on a window fitting.